How it was made...
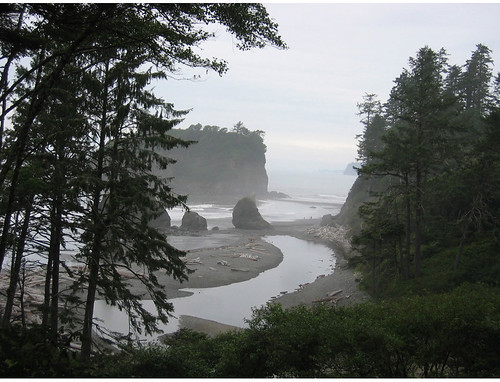
I started with a photo I took at Ruby Beach in Washington state

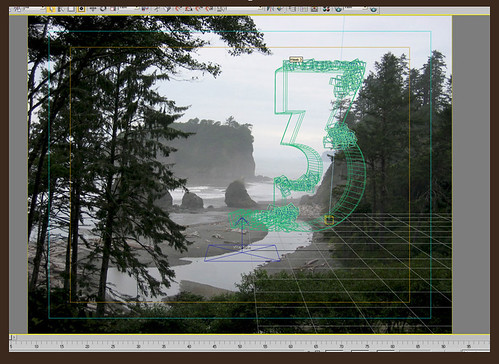
The background image was dropped into 3d Studio Max where the number 3 the "week" text and some 3d shrubbery were modeled.

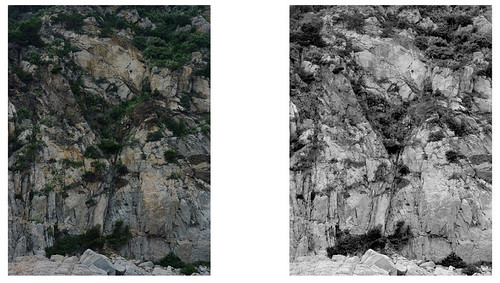
The textures for the 3d model came from photos of cliffs in Oregon (close enough to match the area where the original plate was photographed) The color image was used for my diffuse and a desaturated version was used for a quick displacement map.

Since the rendered elements would be behind some haze, I used low settings.
The render included an alpha channel and a reflective plane.

For the composite...
I dropped the render into place and used a few extraction methods to break out the overlapping tree limbs.
Next, I grabbed some trees from another photo of Ruby Beach and added them to the top of the "3"
The "week" part wasn't reading as well as I would have liked so i painted in some extra hightlights and evened out the surface texture to help it stand out a bit more.
Grounding shadows were added and the render was color corrected to match the lighting and color of the background plate.
Using a color sample from the background sky, I panted in some extra haze around the rendered elements to help them sit more naturally in the scene.
For finishing, I used a 15% or 20% opacity softlight layer with a gradient, from very light blue at the top (to give the haze some subtle color) to an amber at the bottom (to help the greens toward the bottom pop a little more)

This images was done quickly using a 2k wide base image with very low settings for my renders.
From start to finish this took just over 2 hours, including render times.
Hopefully some of this info was helpful!


No comments:
Post a Comment